Mastering the Hoot Controller DIP Switch Setting for Unerversal: A Comprehensive Guide to Optimal Configuration, ??
Introduction: Understanding the Importance of DIP Switch Settings
The hoot controller DIP switch setting for unerversal is a vital aspect of configuring alarm systems, security panels, and other signal-based infrastructure. DIP (Dual Inline Package) switches are tiny toggle mechanisms used to program hardware behavior directly without needing software. With many controllers on the market tailored for universal or “unerversal” setups, knowing how to correctly set up your DIP switches can make the difference between a flawless operation and system malfunction.
In this article, we’ll break down the hoot controller DIP switch setting for unerversal setup step-by-step, explore its real-world applications, troubleshoot common issues, and offer practical configuration examples. This guide is essential for technicians, electricians, security system installers, and DIY enthusiasts alike.
What is a Hoot Controller and Why DIP Switches Matter
A hoot controller is typically used in emergency, fire, or industrial signaling systems. It activates audible and/or visual alarms—commonly referred to as “hooters”—based on input from sensors or control panels. The DIP switch settings allow users to define how the controller behaves in various scenarios such as duration, frequency, signal response, and more.
DIP switches are a traditional but reliable way to program hardware. They don’t require software access and are tamper-resistant once sealed in enclosures. In hoot controller dip switch setting for unerversal applications, the correct configuration ensures compatibility across a range of system types, hence the term “unerversal.”
Structure and Layout of DIP Switches in a Hoot Controller
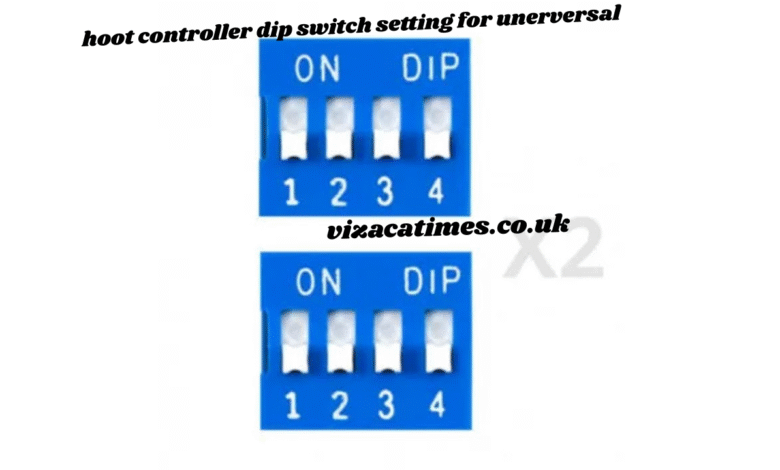
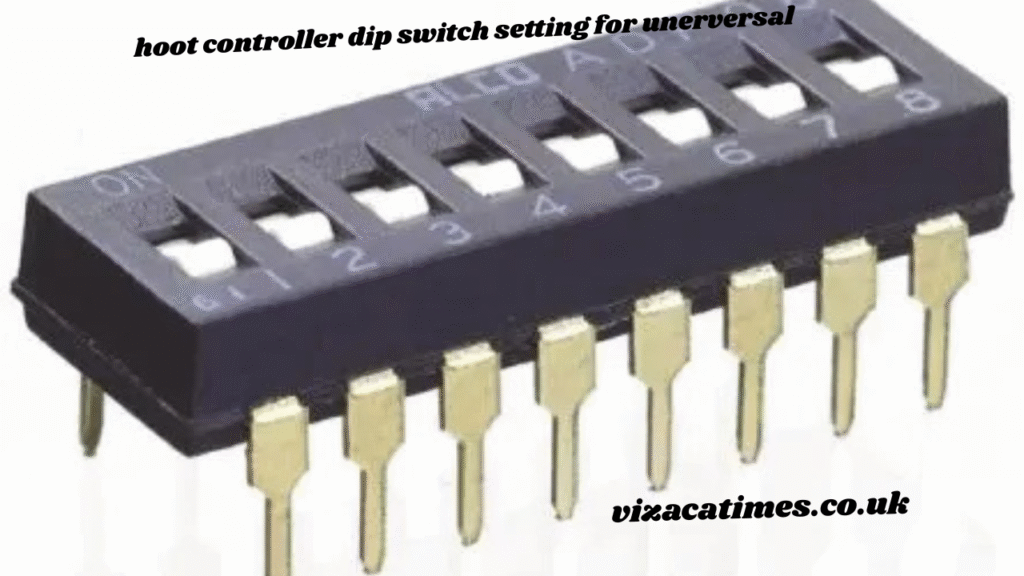
In most universal hoot controllers, you’ll find DIP switches arranged in a block (typically 4, 6, or 8 switches). Each switch toggles between ON (1) and OFF (0) positions. The arrangement might vary, but each switch corresponds to a predefined feature such as:
- Mode Selection (e.g., pulse, steady, alarm loop)
- Time Delay (short or long activation times)
- Signal Logic (normally open or normally closed)
- Sensitivity or Volume Settings
- Power or Relay Activation Type
Understanding this layout is crucial when approaching the hoot controller dip switch setting for unerversal because improper positioning can cause the device to function unpredictably.
Interpreting the DIP Switch Configuration Table

Manufacturers often provide a DIP switch configuration chart or diagram in the controller’s manual. However, many installers overlook this due to time constraints. Below is a generalized layout used in universal models:
| Switch No. | Function | ON (1) | OFF (0) |
|---|---|---|---|
| 1 | Signal Mode | Pulsed | Continuous |
| 2 | Duration | 5s | 10s |
| 3 | Alarm Reset | Manual | Auto |
| 4 | Loop Type | Normally Closed | Normally Open |
| 5 | Siren Volume | High | Low |
| 6 | Output Relay | Enabled | Disabled |
This table may vary, but the principles remain the same across many devices that use hoot controller dip switch setting for unerversal logic. Always refer to your specific unit’s datasheet or enclosure sticker for accurate mapping
Practical Example: DIP Switch Setting for a Fire Alarm Scenario
Let’s walk through a realistic scenario. Suppose you’re installing a hoot controller in a fire alarm system in an industrial building. The requirement is:
- Continuous hoot until manual reset
- High-volume siren
- 10-second activation delay
- Use with a Normally Closed loop
Based on a standard 6-switch setup, the hoot controller dip switch setting for unerversal would be configured as:
- Switch 1: OFF (continuous)
- Switch 2: OFF (10s delay)
- Switch 3: ON (manual reset)
- Switch 4: ON (Normally Closed)
- Switch 5: ON (High volume)
- Switch 6: ON (Relay Enabled)
These settings ensure the controller delivers consistent and reliable performance in this critical application.
Common Mistakes in DIP Switch Configuration
Despite their simplicity, DIP switch settings can go wrong due to small errors. Here are common mistakes made while setting up the hoot controller dip switch setting for unerversal:
- Misreading Switch Orientation: Always verify which side is “ON.” Some controllers label the ON side to the left; others to the right.
- Neglecting Dust and Debris: Dirt in the switch contacts can cause misbehavior. Clean gently before adjusting.
- Overlooking Factory Defaults: Some units ship with default settings incompatible with your system—double-check before powering on.
- Failing to Use Proper Tools: Avoid using fingers or metal tools; use plastic DIP switch togglers to avoid damaging the pins.
Understanding and avoiding these errors will ensure the hoot controller dip switch setting for unerversal functions as intended.
Testing and Verification After Setting DIP Switches
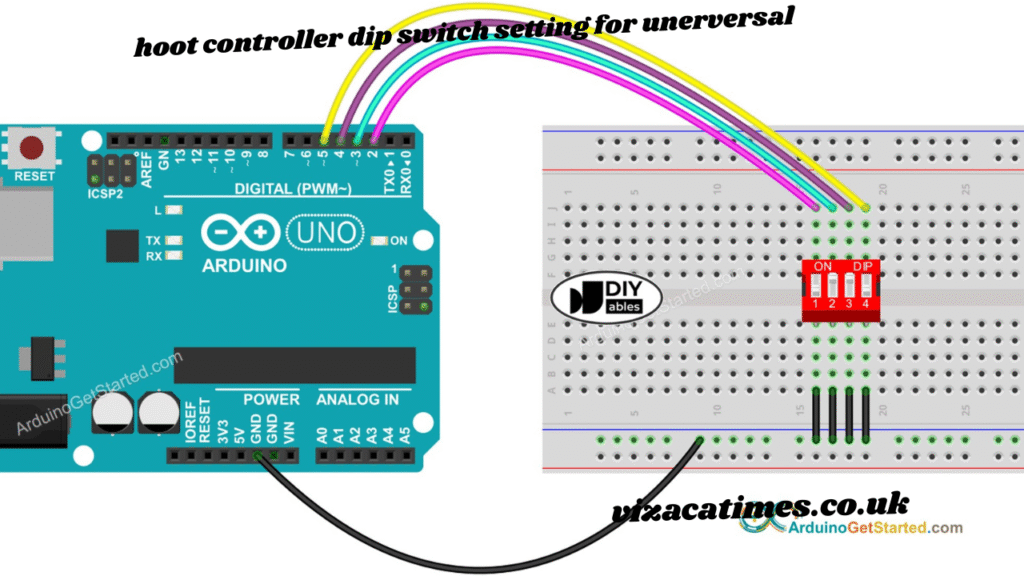
After adjusting your DIP switches, follow these steps for safe and accurate testing:
- Disconnect Output Loads: To avoid false triggering of hooters during setup.
- Apply Power Gradually: Power up the system and monitor controller LEDs for behavior.
- Use Simulated Inputs: Trigger your controller with simulated signals to verify responses.
- Log Responses: Record sound duration, loop response, and manual resets as proof of proper setup.
It is essential to always verify real-world behavior after setting up the hoot controller dip switch setting for unerversal, rather than relying solely on visual inspection.
Advanced Configurations and Dual-System Integration
Some universal hoot controllers support dual-channel inputs, multi-tone sirens, and smart relay handling. In these cases, DIP switches may control advanced parameters such as:
- Tone Pattern Selection (siren, beep, horn)
- Second Relay Trigger Logic
- Multi-zone Compatibility
- Programmable Delay Overlap
When using a hoot controller dip switch setting for unerversal in advanced systems, always label your configurations and maintain a logbook for future reference, especially in institutional or industrial environments.
Maintenance Tips for Long-Term Reliability
Once you’ve configured the DIP switches, you’ll want to maintain the system for long-term reliability. Here are best practices:
- Seal the Enclosure: Protect against dust and water ingress.
- Periodic Retesting: Quarterly tests are recommended in commercial setups.
- Replace Damaged Switch Blocks: If a DIP switch feels loose or doesn’t click firmly, it may need replacement.
- Document Your Settings: Keep both hard and soft copies of your configuration for audit and troubleshooting purposes.
Maintaining the hoot controller dip switch setting for unerversal ensures the system’s responsiveness and integrity during emergencies.
Conclusion: A Critical Component for Safe and Efficient Signaling
The hoot controller dip switch setting for unerversal plays a crucial role in configuring alarm and alert systems across various platforms. Whether you’re installing in a fire safety system, industrial warning solution, or security protocol, understanding the DIP switch architecture and behavior is essential.
By carefully analyzing the configuration options, avoiding common mistakes, and conducting thorough testing, you can ensure a robust and effective alarm system that performs reliably under pressure.
Mastering these settings is not only a technical skill—it’s a safeguard for lives, assets, and operational continuity.
Also Read : Understanding the Power of Immediate Proair X3: Innovation, Performance, and Real-Time Response